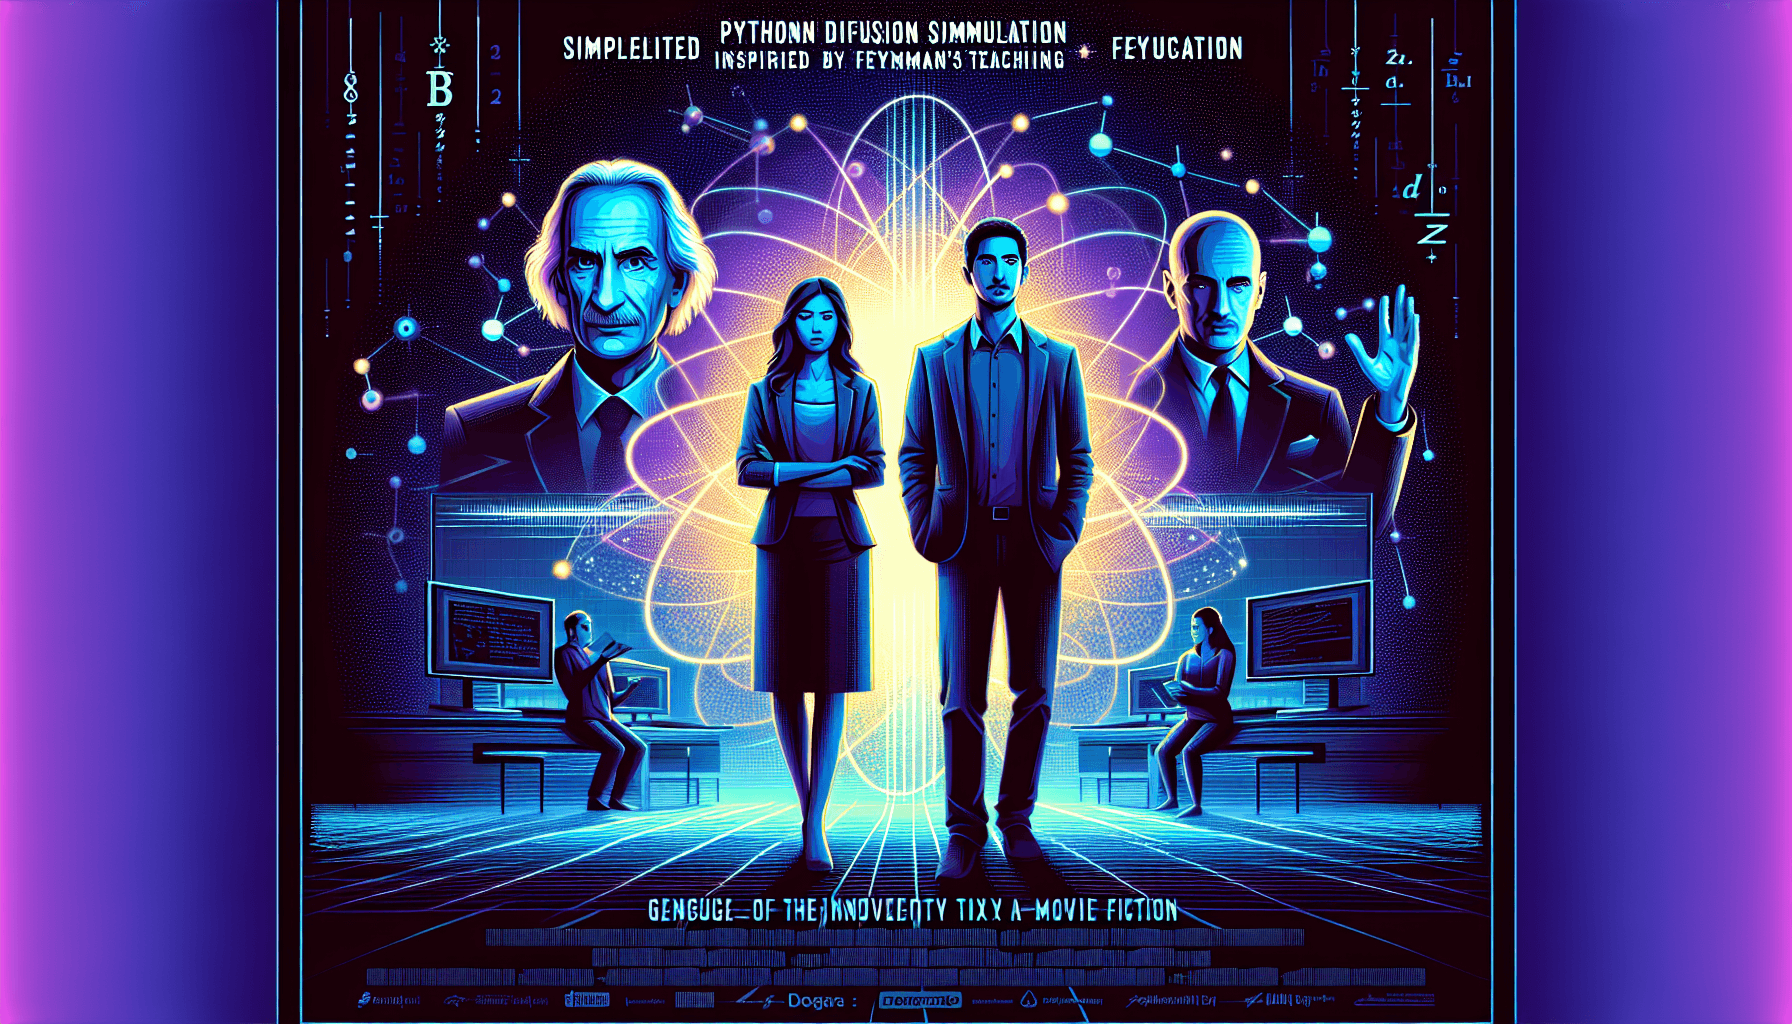
Today in Edworking News we want to talk about If Feynman Was Teaching Today… A Simplified Python Simulation of Diffusion Understanding the real world is not always easy. A Python simulation can help. And let's find ways of making it efficient, too (Part 1)
How often has this happened to you? You think you understand a topic well, then realize you hadn't quite understood it as well as you thought. I've been listening to the Feynman lectures in physics recently. Richard Feynman was a brilliant physicist and an exceptional communicator. In the early 1960s, he was asked to deliver a two-year undergraduate physics course, which would have been “beneath him” as one of the most renowned physicists of his time. But Feynman loved teaching, and he was remarkably good at it, so he accepted on the condition he only delivers the course once.
 Python Simulations in Physics Education
Some of you may know that I'm a physicist by training and worked as a research scientist for many years. As someone with a Ph.D. in physics, surely there's nothing to learn from listening to undergraduate-level lectures, right? Wrong. Even in Feynman’s early lectures, when he was covering basic concepts, his descriptions and explanations led me to understand topics I “knew well” at a deeper level. Feynman's talent was in helping students visualize concepts intuitively. If we could transpose Richard Feynman to the present day, he would explain many concepts using Python simulations.
Animation of Particles
Here’s the animation you’ll create in this article. Notice how the particles collide with each other and with the sides:

I’ll use one of my favorite modules in this tutorial, the turtle module. However, I plan to follow this tutorial with Part 2 in a few weeks, which will look at a different solution using NumPy and Matplotlib.
Particles Moving Around, Crashing Into Each Other
Let’s start with a gas in a closed container. Let’s simplify by saying that there are particles moving around the container. These particles are moving in random directions, and each one has a particular speed. In physics, velocity represents the speed and direction of an object. Each particle keeps moving with the same velocity — the same speed and direction — until it hits another particle or the container sides.
Coding the Simulation Area
Let’s represent the container as a 2D simulation area. You can create a class to represent this area and create the screen as an attribute in this class. This class will include methods to update the screen and set the window’s title.
Setting Particle Attributes
We'll make some assumptions to simplify this demo. One of these is to assume the molecules in the gas are spheres. We'll create a `Particle` class with attributes such as position (x, y coordinates), velocity (x, y components), color, and size. We’ll link the particle with the container so that it can access information about the simulation area.
Moving Particles
The key steps to start the animation and move all the particles involve creating an animation loop and defining the `move()` method for particles.
Account for Collisions
To simulate realistic behavior, particles need to collide with each other and the container walls. We’ll implement collision detection and response by checking distances and changing velocity directions accordingly.
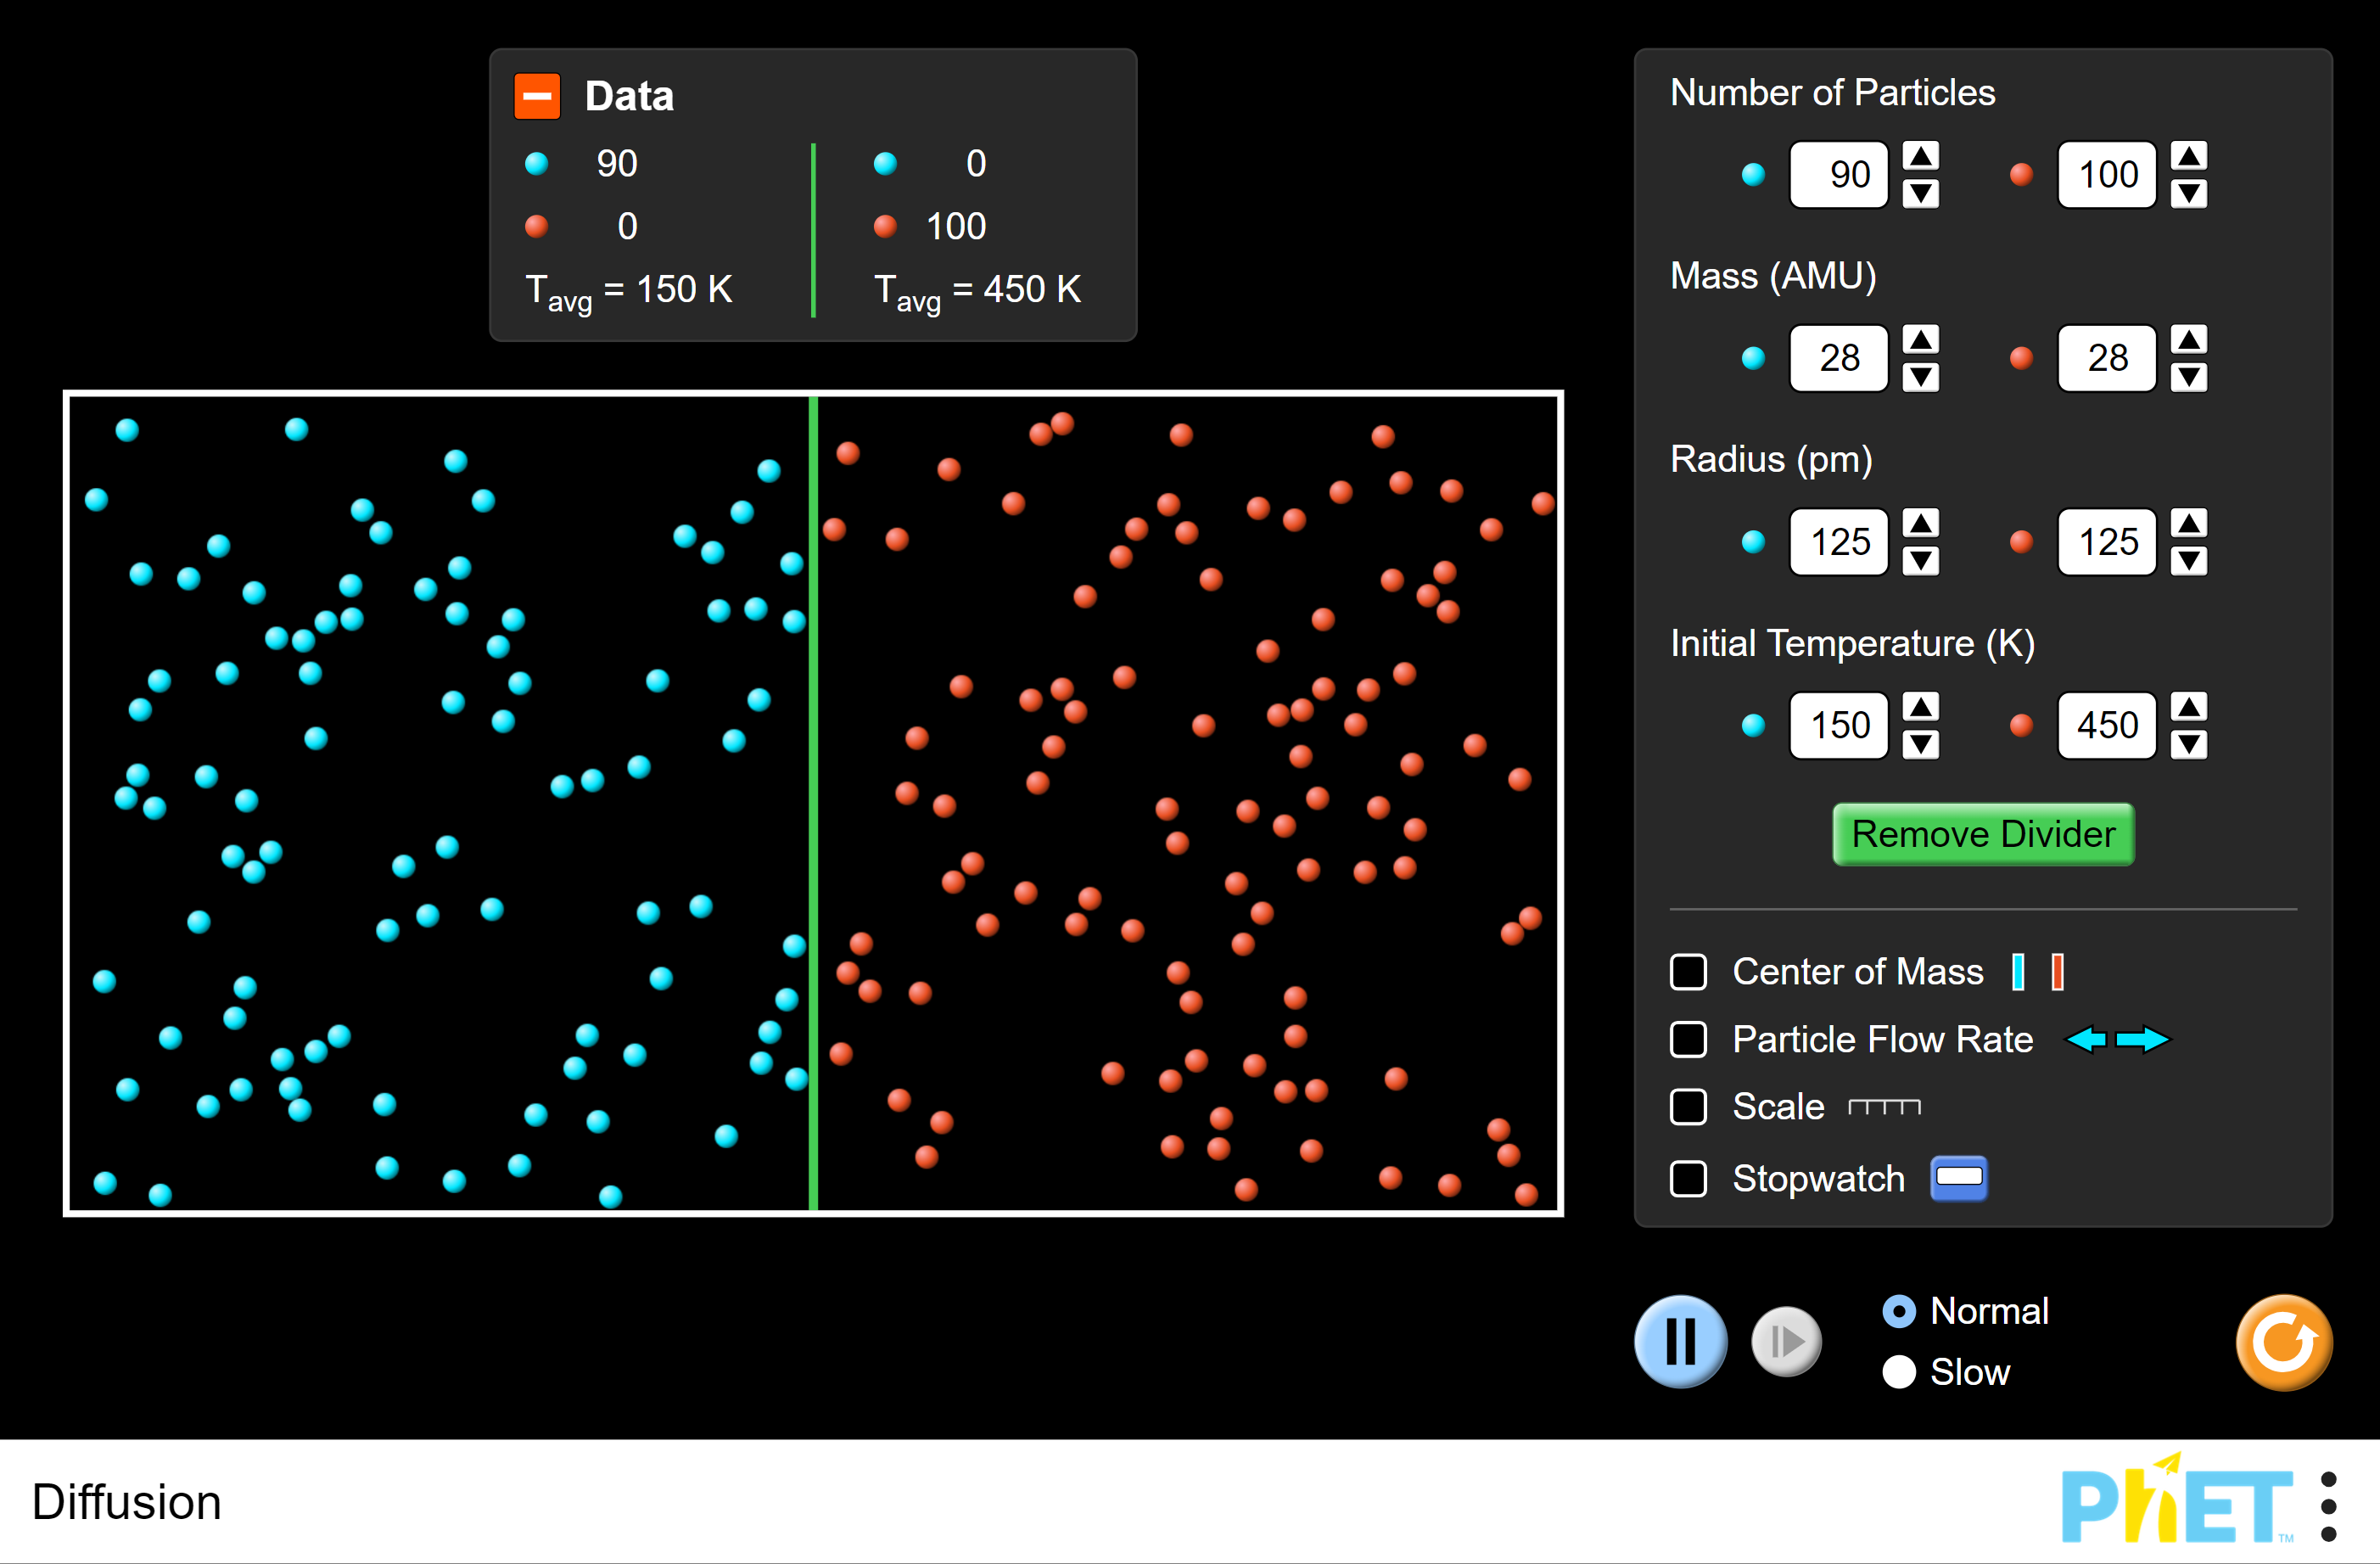
Diffusion Simulation
The final step is simulating diffusion. Initially, we place one type of gas in the left half and another type in the right half. The animation will show how the particles of different types mix over time due to random motion and collisions.
Here’s a glimpse of the diffusion animation. Notice how green particles initially on the left side mix with the orange particles from the right side to finally distribute equally across the container.
Optimizing Particle Collision Checks
We need to make collision detection more efficient. Instead of checking every particle against every other particle, we divide the simulation area into a grid and check for collisions only within a particle's immediate neighborhood. This approach significantly reduces computation time and improves performance.
Final Words
A reminder: I've simplified some physics concepts and cut corners since this is a demonstration rather than a more rigorous simulation. We’ll further explore optimization techniques in Part 2 of this series.
Remember these 3 key ideas for your startup:
- Visual Learning: Use Python simulations to help your team understand complex concepts quickly. This enhances problem-solving skills and fosters innovative thinking.
- Optimization: Always look for ways to optimize your processes. In the Python simulation example, optimizing collision checks improved performance significantly. Apply similar strategies to your business operations to save time and resources. Learn how to automate tasks and workflows.
- Innovation: Keep exploring new tools and methods. Incorporate the latest technologies, like Python simulations, to stay ahead of the curve and maintain a competitive edge.
Edworking is the best and smartest decision for SMEs and startups to be more productive. Edworking is a FREE superapp of productivity that includes all you need for work powered by AI in the same superapp, connecting Task Management, Docs, Chat, Videocall, and File Management. Save money today by not paying for Slack, Trello, Dropbox, Zoom, and Notion.
For more details, see the original source.